Local Deployment of Large Language Models with Ollama
Summary
Want to run LLMs locally on Windows? This guide walks you through the complete Ollama workflow—from installation and path configuration to model selection—getting your private AI up and running in minutes.
flowchart LR
A["Install\nOllama"] --> B["Configure\nStorage Path"]
B --> C["Pull\nModel"]
C --> D["Create\nModelfile"]
D --> E["Run\nInference"]
Environment Setup
Install Ollama
- Visit Ollama Official Website to download the installer for Windows
- Proceed with default installation settings, which will automatically configure environment variables
Verify Installation
| |
Configure Model Storage Path
Default Path
C:\Users\<Username>\.ollama\models
Custom Storage Location
- Open System Properties → Advanced → Environment Variables
- Create a new system variable:
- Name :
OLLAMA_MODELS - Value :
D:\OllamaModels\(custom path)
- Name :
- Restart Ollama service
Command Cheat Sheet
| Command | Description |
|---|---|
ollama pull <model> | Download model |
ollama run <model> | Start inference |
ollama list | Installed models |
ollama rm <model> | Remove model |
ollama run <model> | Start model instance |
ollama stop <model> | Terminate model instance |
Model Deployment
Pull a Model
When selecting a model to download, consider your hardware limitations. The model’s size must fit within your available GPU VRAM and system memory. For optimal performance, choose a model that aligns with your system’s capabilities.
ollama pull deepseek-r1:1.5b
Create Model Configuration (Optional)
Create a new Modelfile to customize model parameters, then apply the configuration using:
ollama create my-deepseek -f Modelfile
Available models
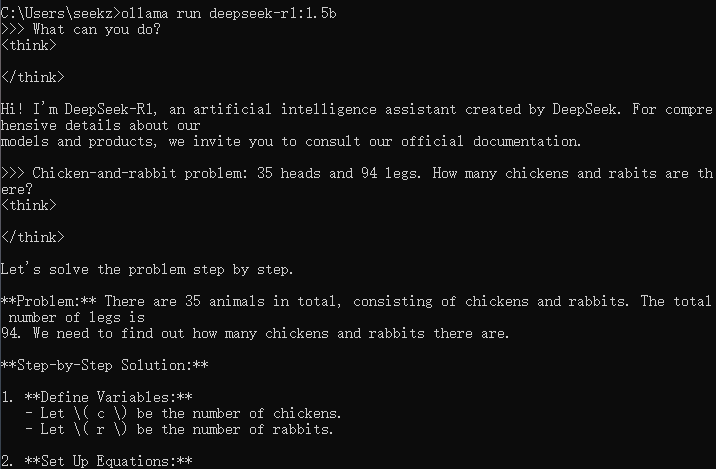
Execution
Start the Model
| |
Test the model